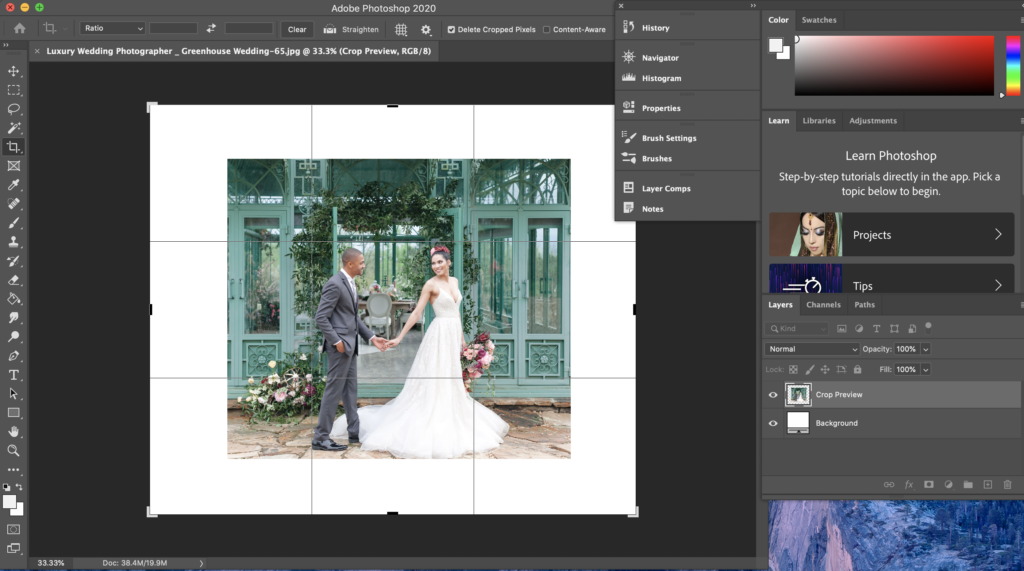
- Open up the image you want to work with into Photoshop and crop according to your liking.
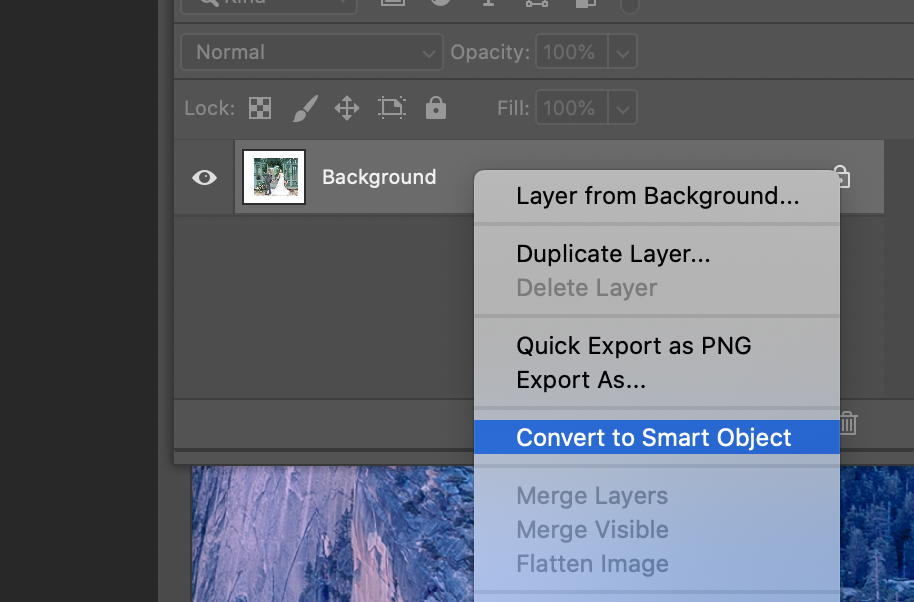
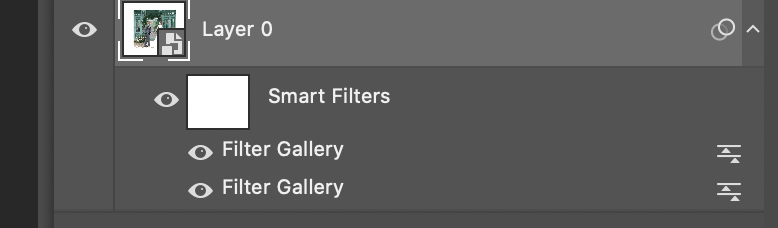
2. Change the background layer by double clicking and selecting “Convert to Smart Object.”
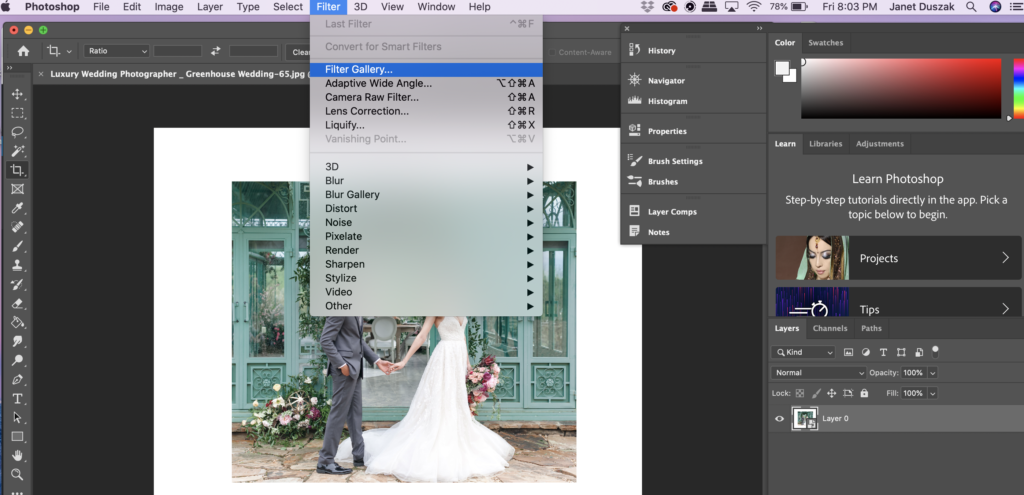
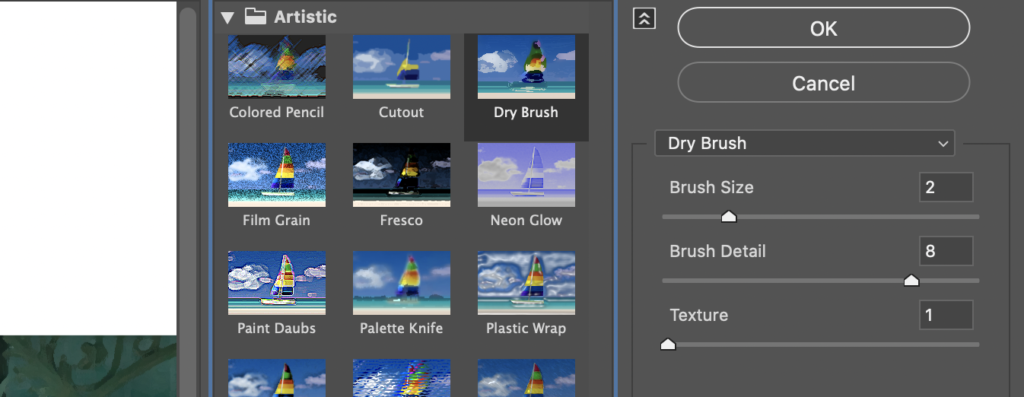
3. Go to the FILTER tab, and click on “Filter Gallery.” Then choose “Dry Brush” and make sure brush size is set to 2, brush detail – 8, and texture – 1.
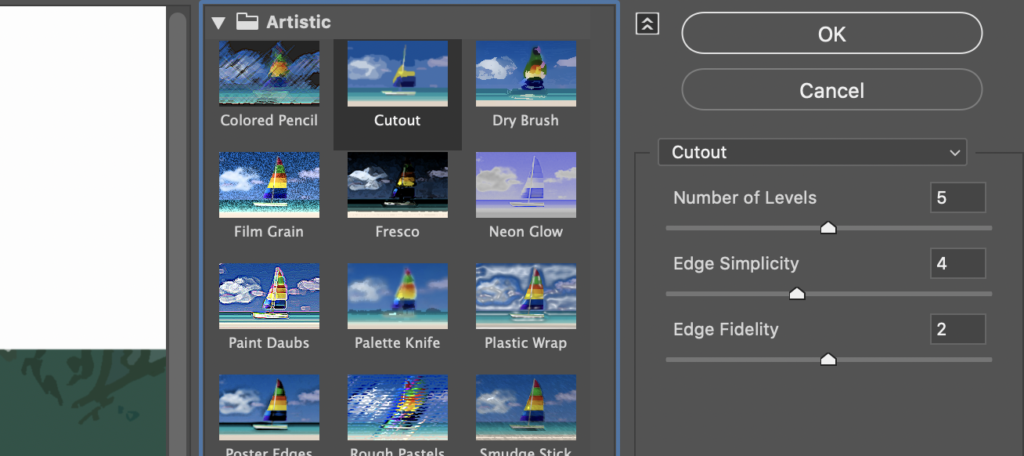
4. Go back to the FILTER tab and click on “Filter Gallery” again. This time, choose “Cutout” and make sure number of levels – 5, edge simplicity – 4, and edge fidelity is set to 2. You can play around with these if the image is not looking the way you want it to.
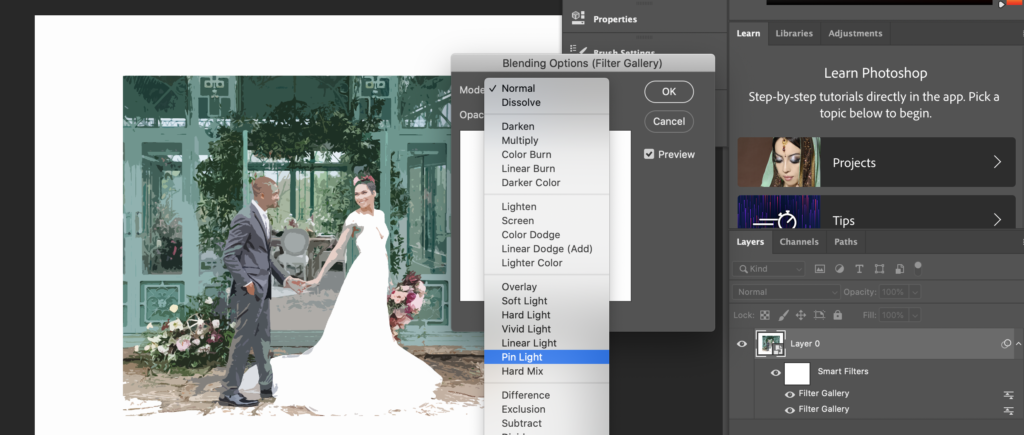
5. Then go to the settings icon next to the smart filters. Double click on the top one. Set the blending mode to “Pin Light.”
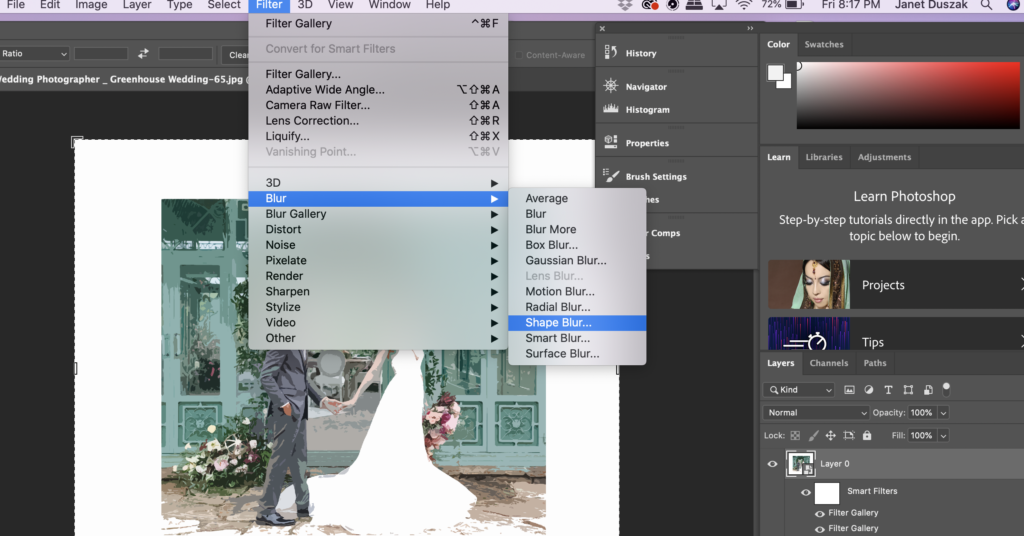
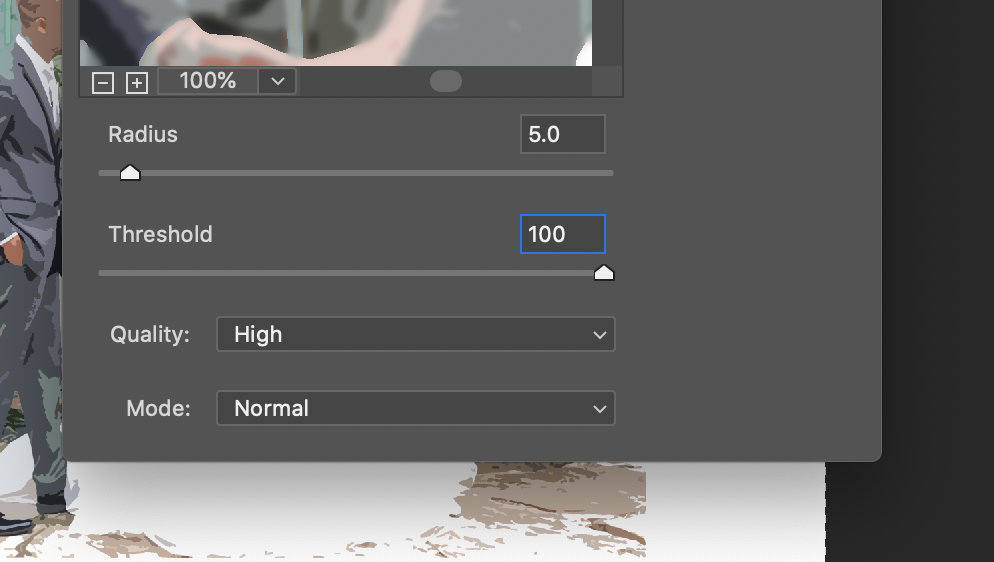
6. Go back to the FILTER tab, and choose “Blur” then “Smart Blur.” Make sure Radius is set to 5, Threshold 100, and Quality is set to “High.”
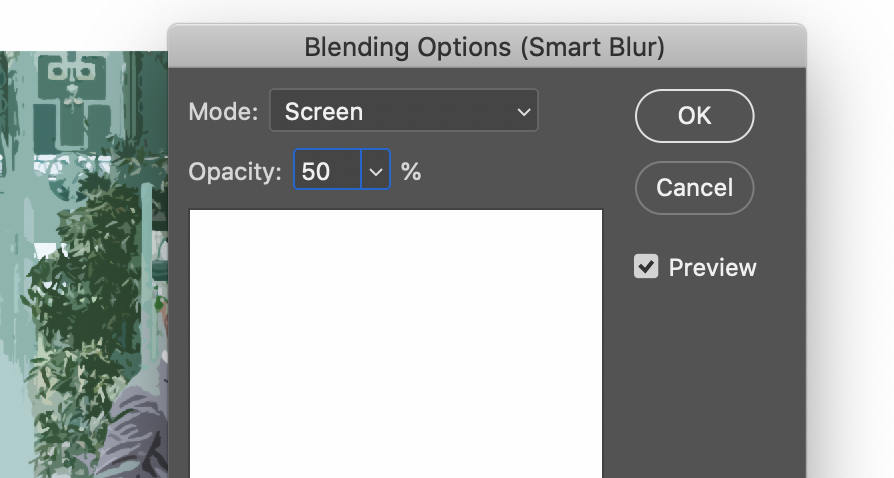
7. Double click the settings icon next to the “Smart Blur” smart filter. Set the blending mode to “Screen” and set the Opacity to 50%.

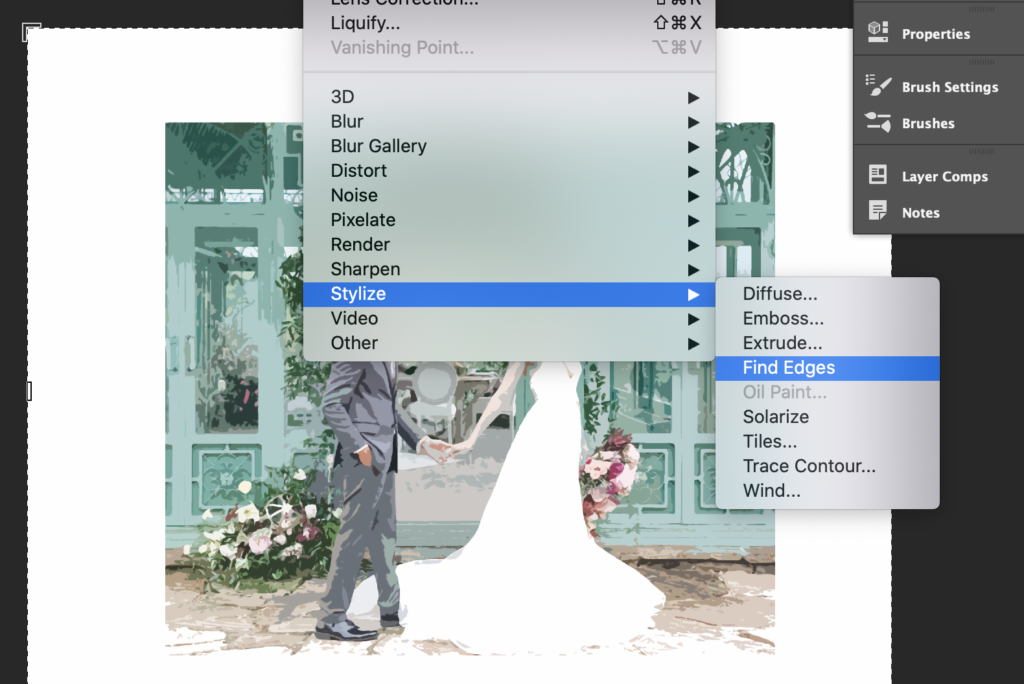
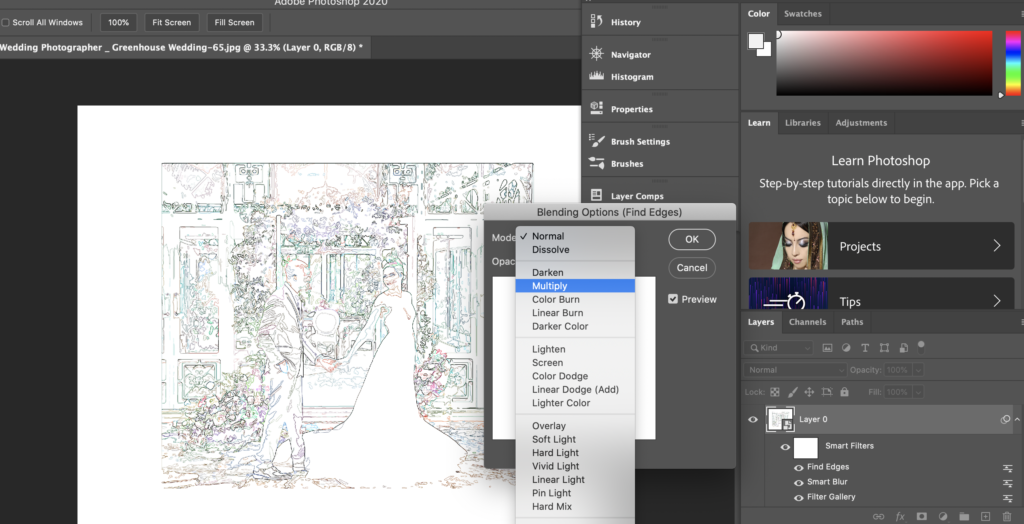
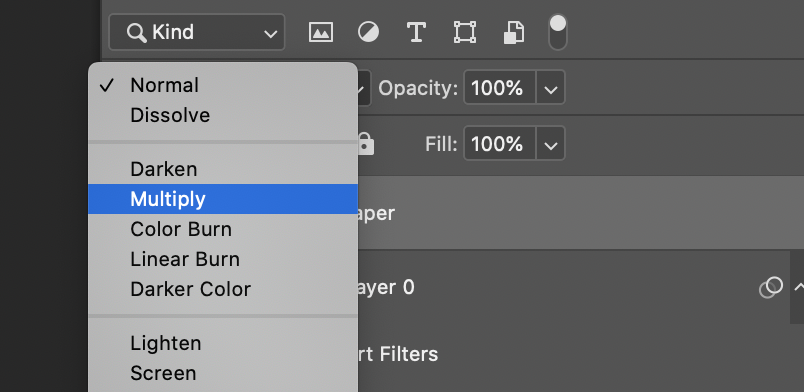
8. Go back to the FILTER tab and choose “Stylize” and then “Find Edges.” Double click the settings icon next to the “Find Edges” smart filter. Set the blending mode to “multiply” and click OK.
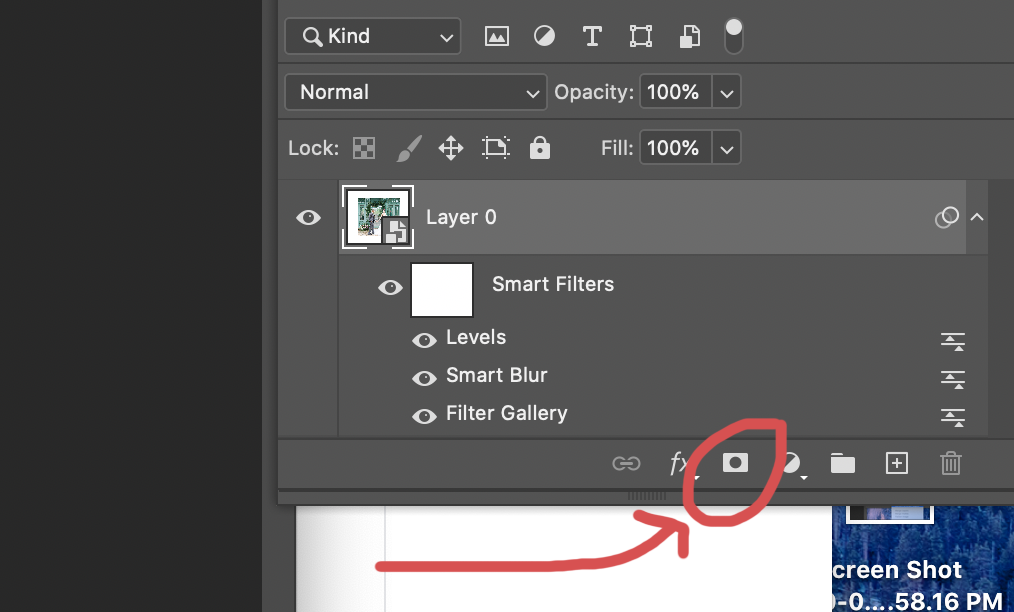
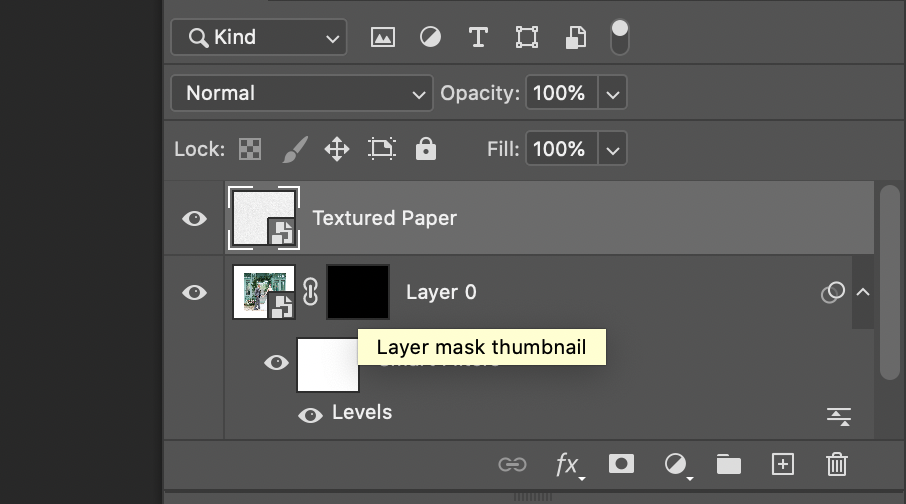
9. Add a layer mask by clicking this icon:
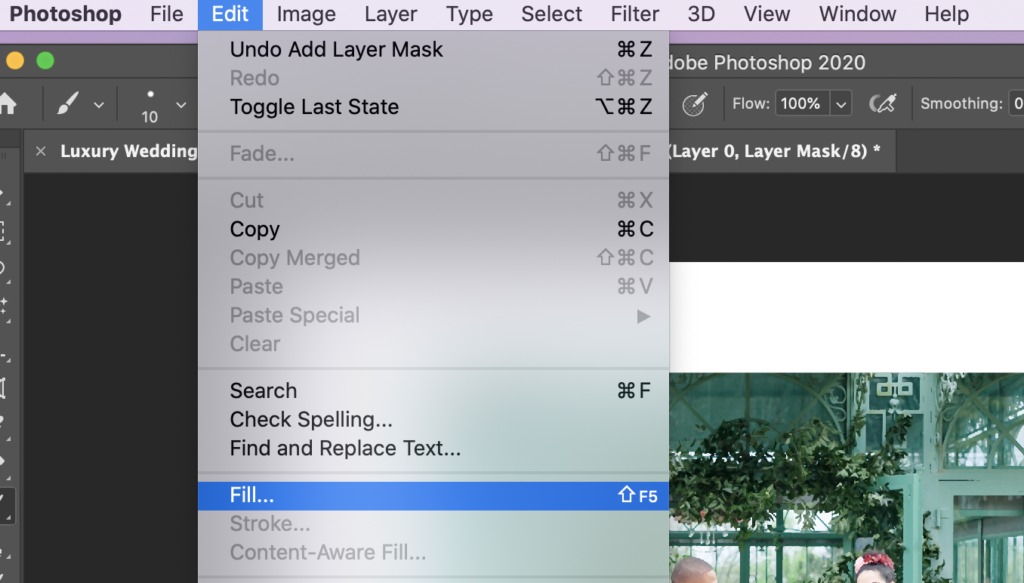
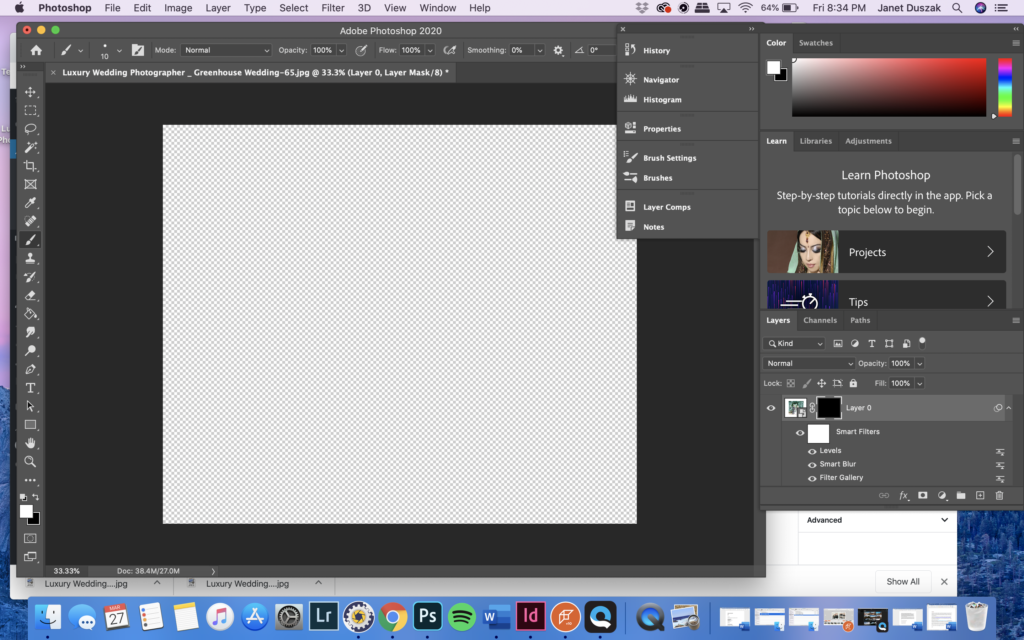
9. Go to the EDIT tab, click on “Fill” and make sure the color is set to black to completely cover the layer
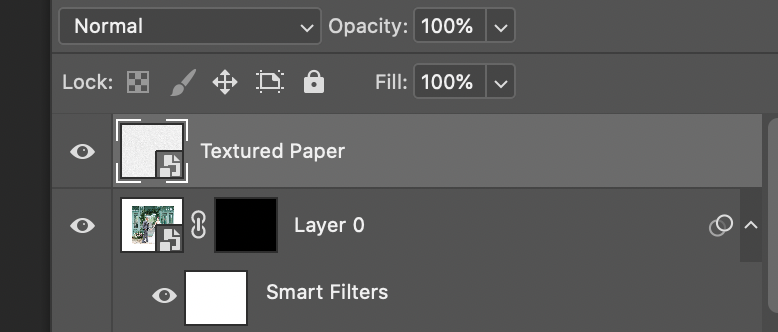
10. Go to the file of the textured paper (I purchased mine on Shutterstock.com) and drag it onto the file you’ve been working on. Drag the corners until it is fully covering the image and click enter.
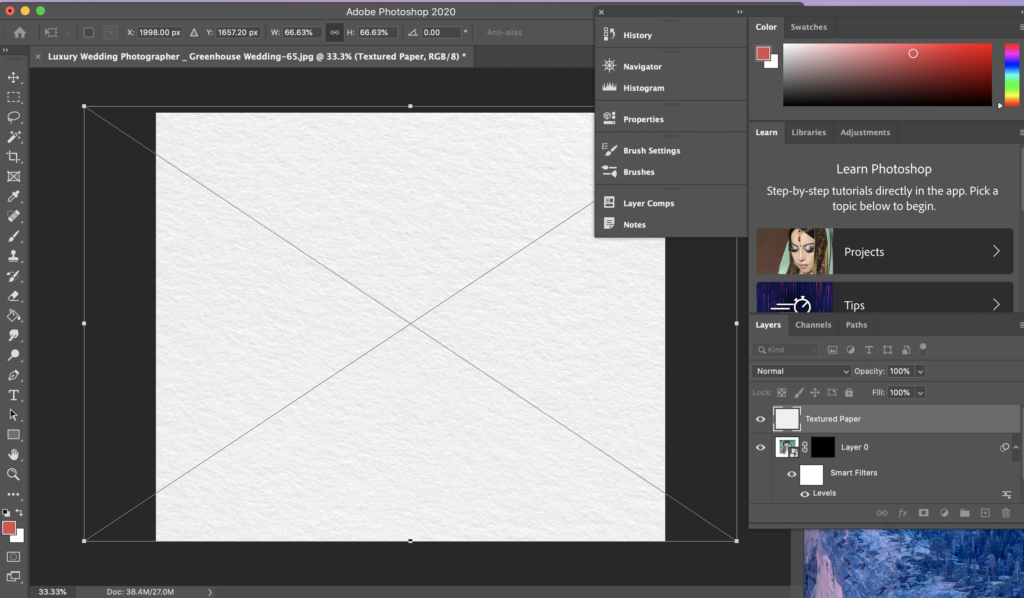
11. Make sure you are on the textured paper layer and change the blending mode from “normal” to “multiply.”
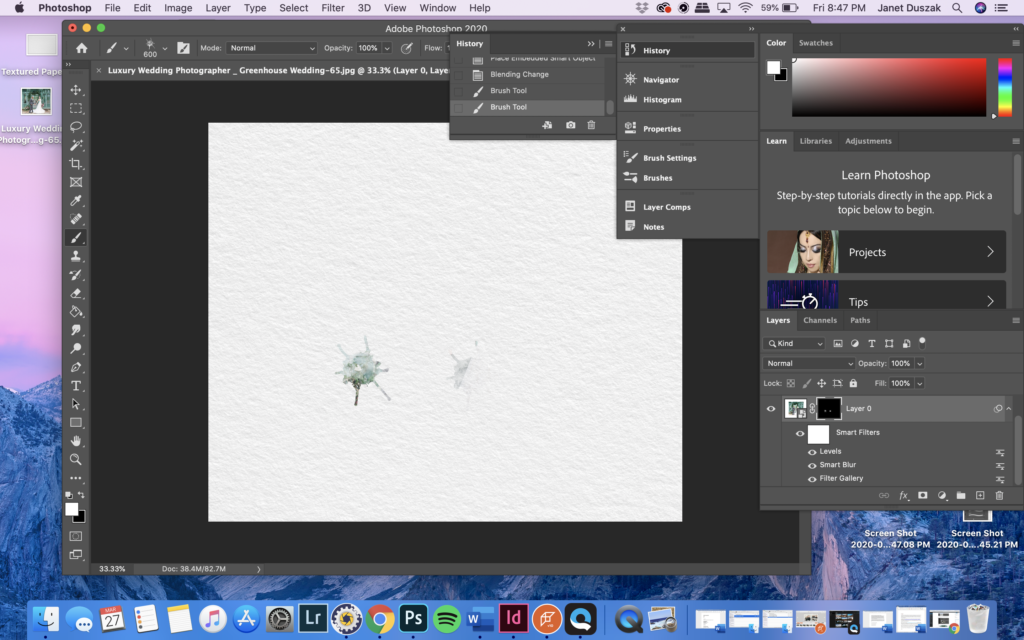
12. Go back to “Layer 0” and click on the mask (the side that is covered in black).
13. Click on the BRUSH tool and in the upper left hand corner scroll through the various watercolor brushes. You can download some free ones through Adobe, or I purchased a few on Etsy as well.
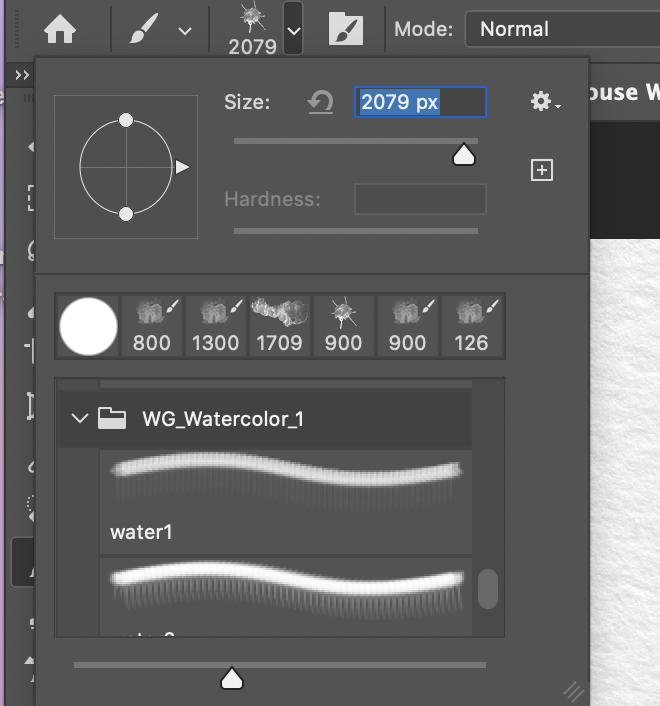
14. Once you’ve selected the watercolor brush you want to begin with, you can start clicking around mask to see your image coming through. If you’re not seeing anything, make sure the brush is set to white!
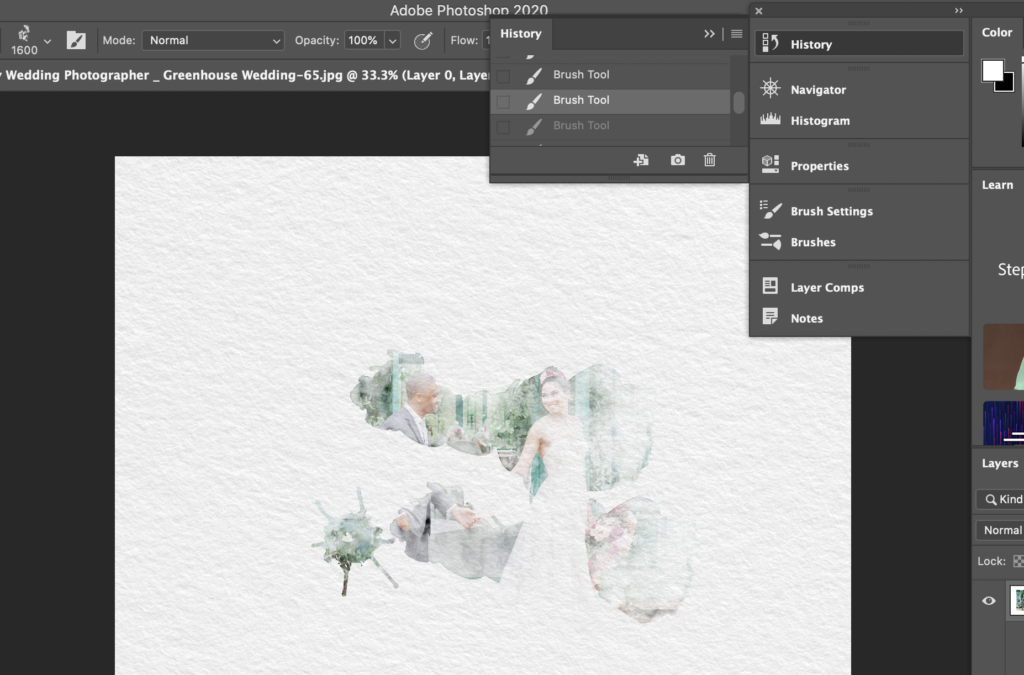
15. Once you start working through the image, the idea is to change brushes a couple of times to achieve the desired watercolor effect.


Comments