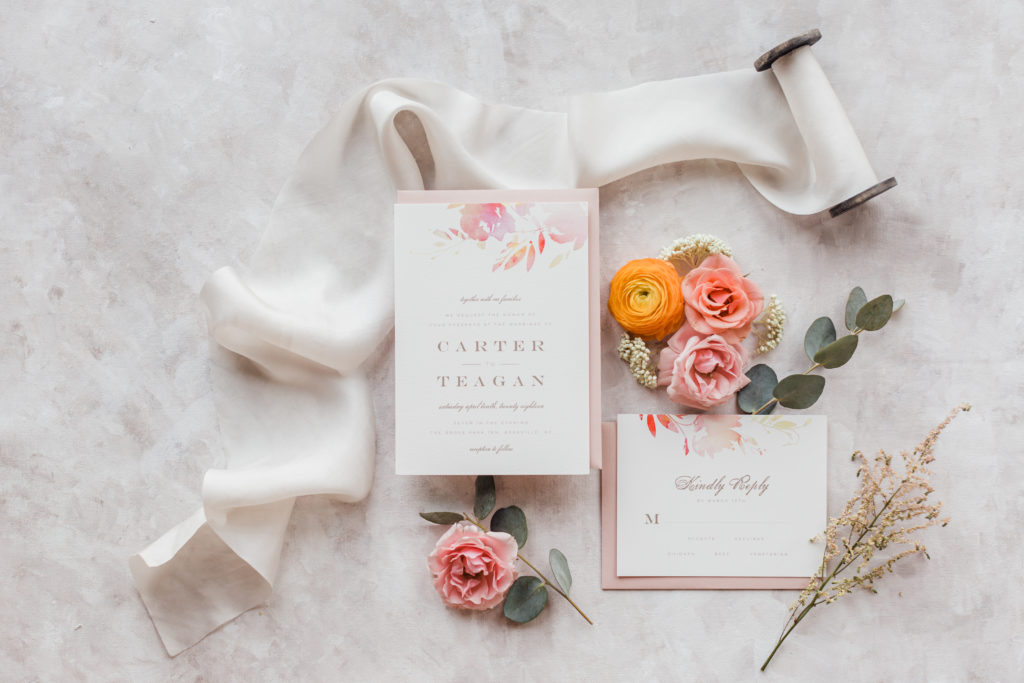
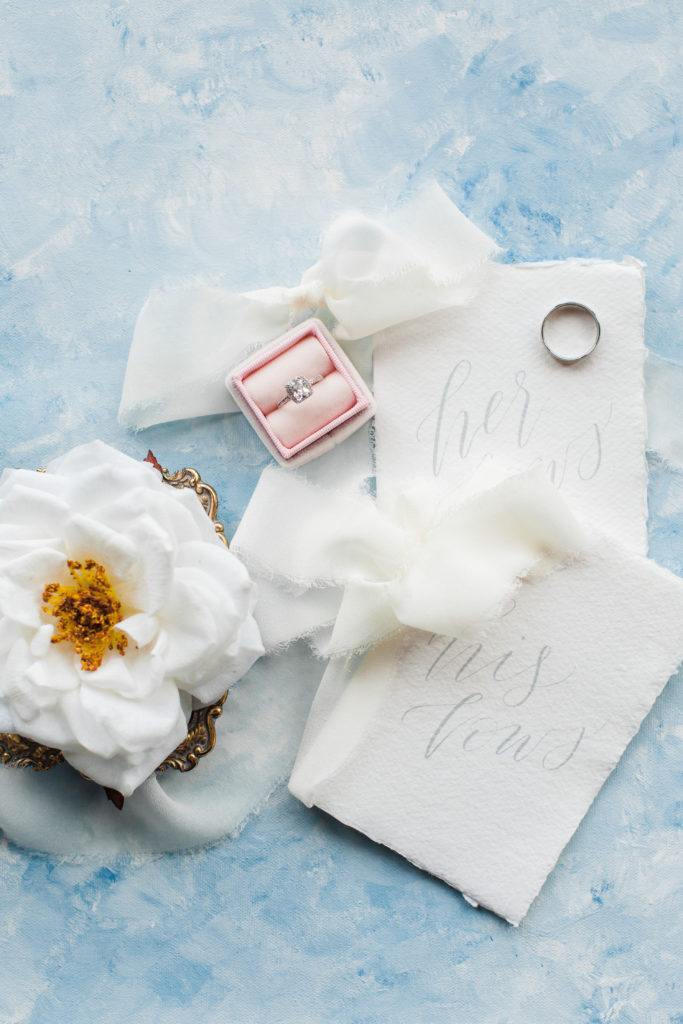
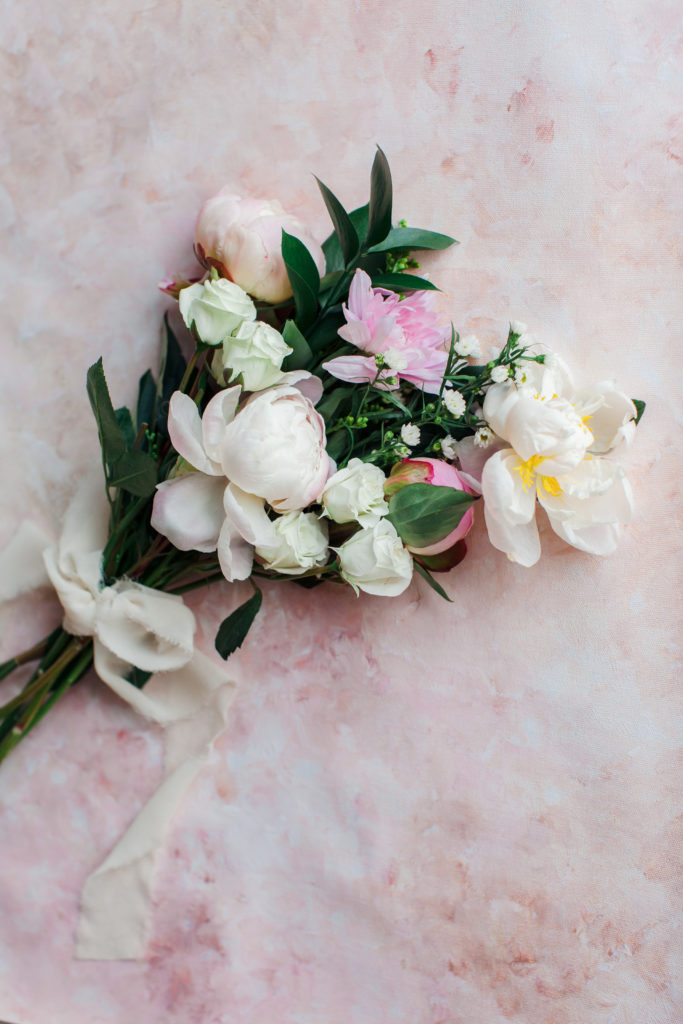
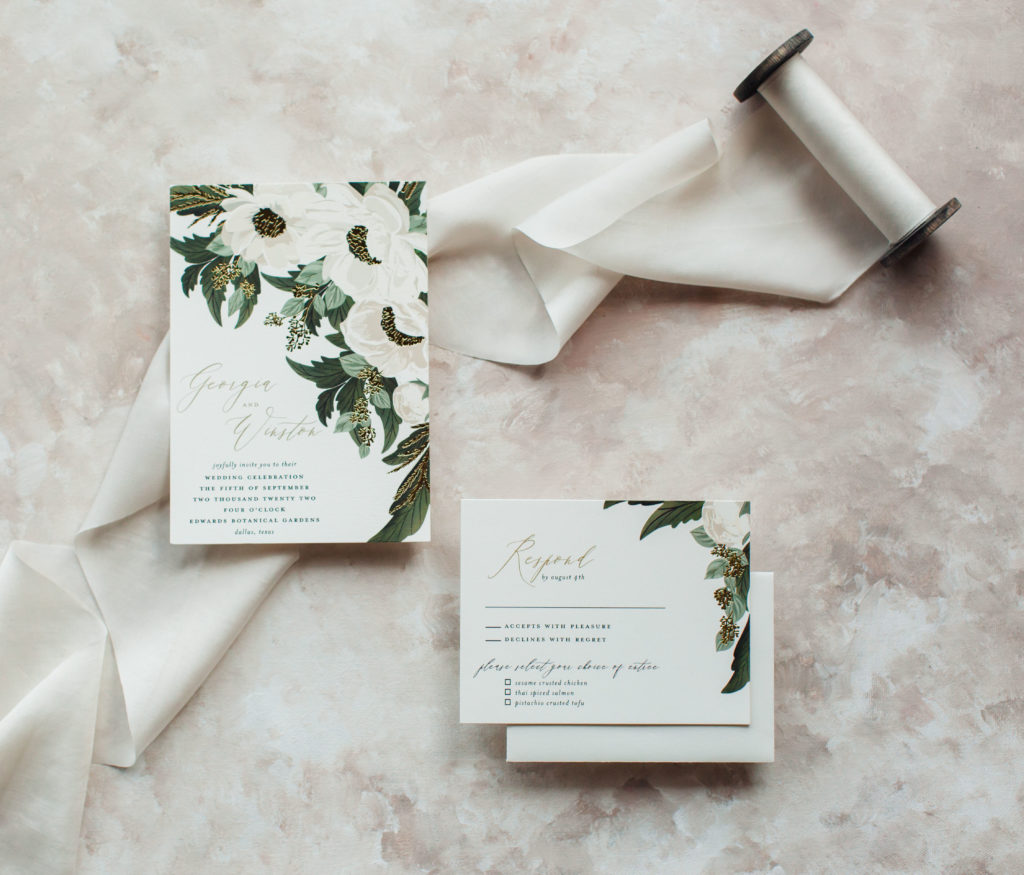
When I first saw these stunning, fine art styling mats taking social media by storm, I NEEDED to invest in one of these for the upcoming wedding season. The canvas itself is not only beautiful, but versatile in its uses for custom backdrops, stock photos, and most importantly, I love how it can elevate the look of detail shots to make them look more high-end.
In my quest of finding the perfect, hand-painted, fine-art canvas styling mat, I ended up testing a lot of DIY methods to create my own. After much trial and error, I’ve finally come up with a method that I LOVE!
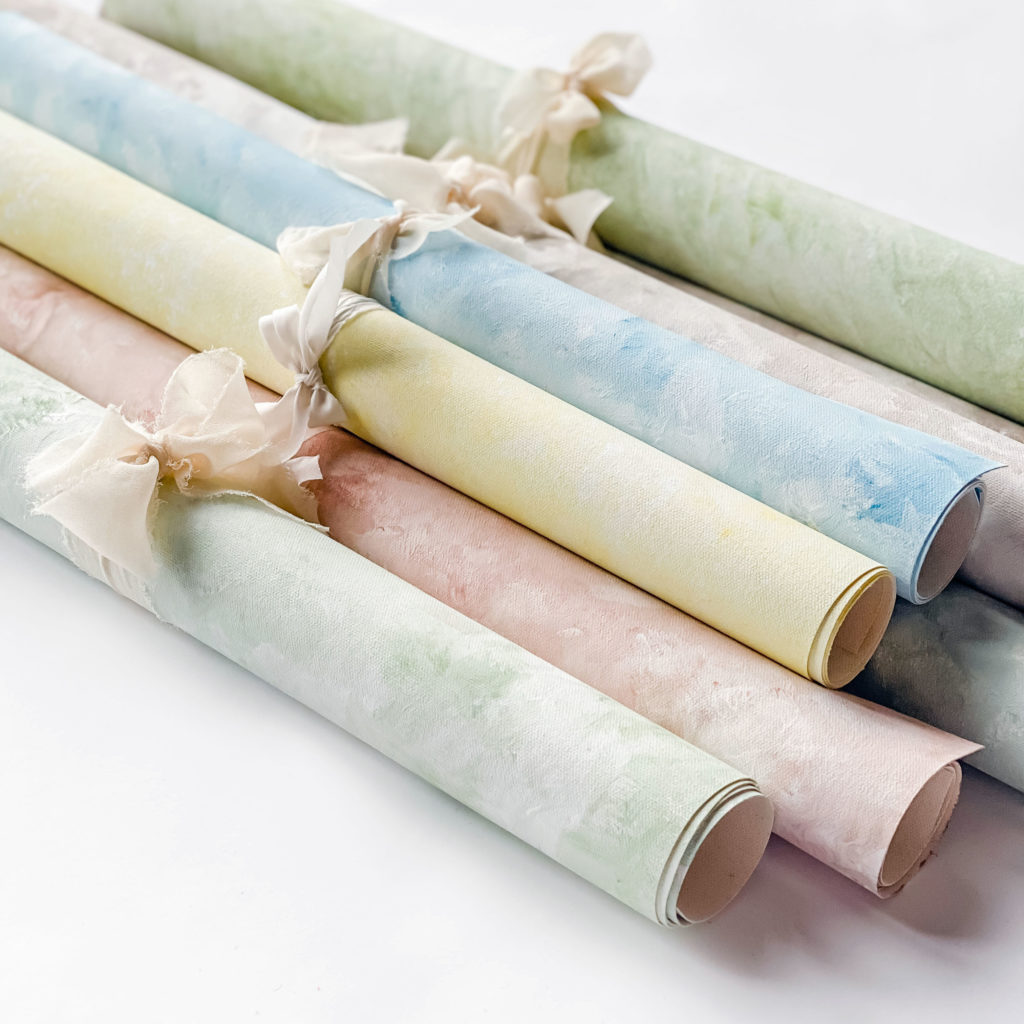
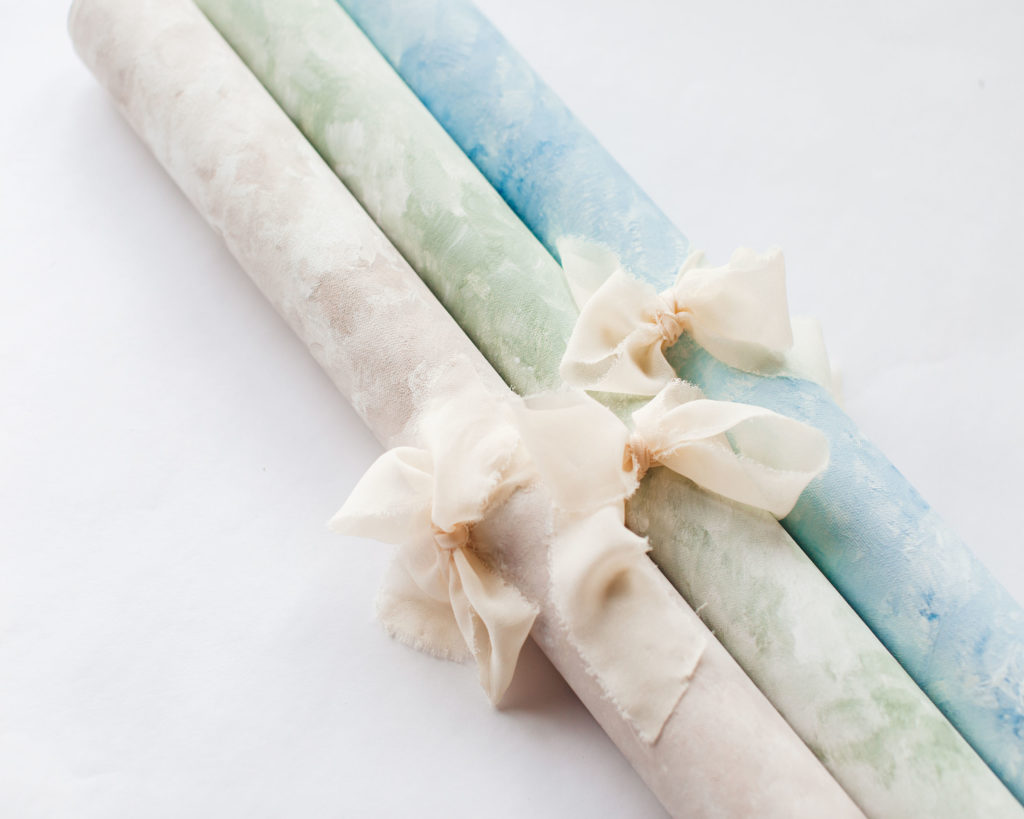
1 – Order a roll of canvas paper and cut it down to the size of the style mat that you are looking for (I did about 21 x 28 inches).
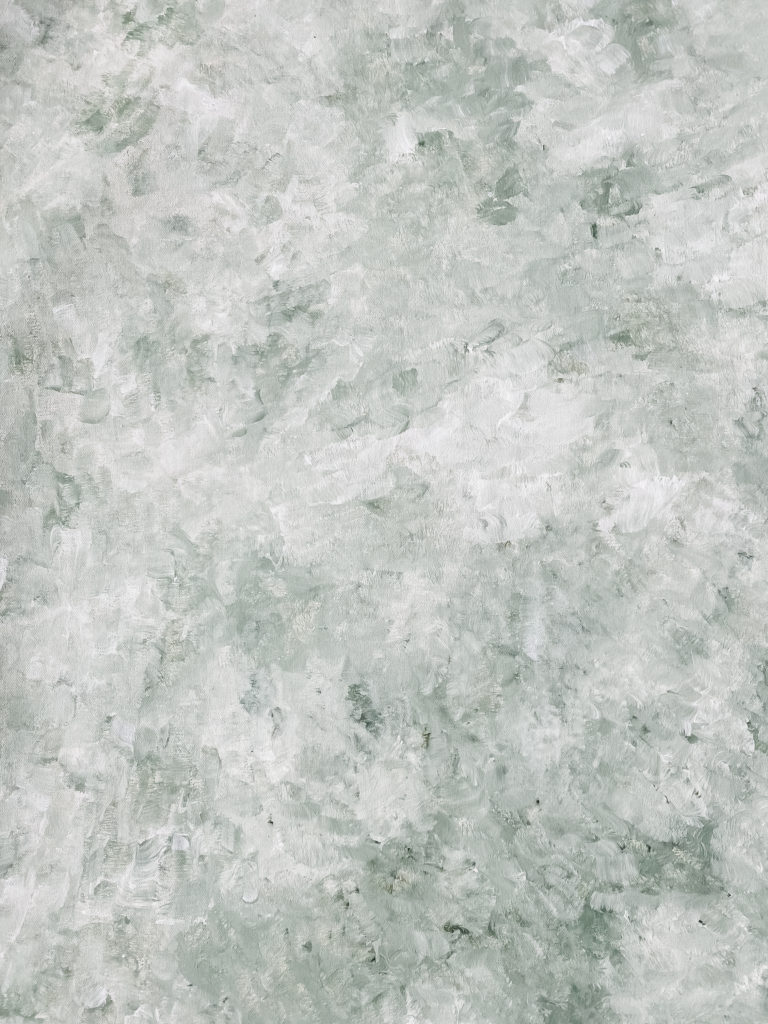
2 – Take out acrylic paint and some paint brushes, and start mixing the desired colors. For me, I didn’t want the colors to look “Crayola.” This is really the hardest part – Figuring out how the colors mix with each other to achieve the desired look.
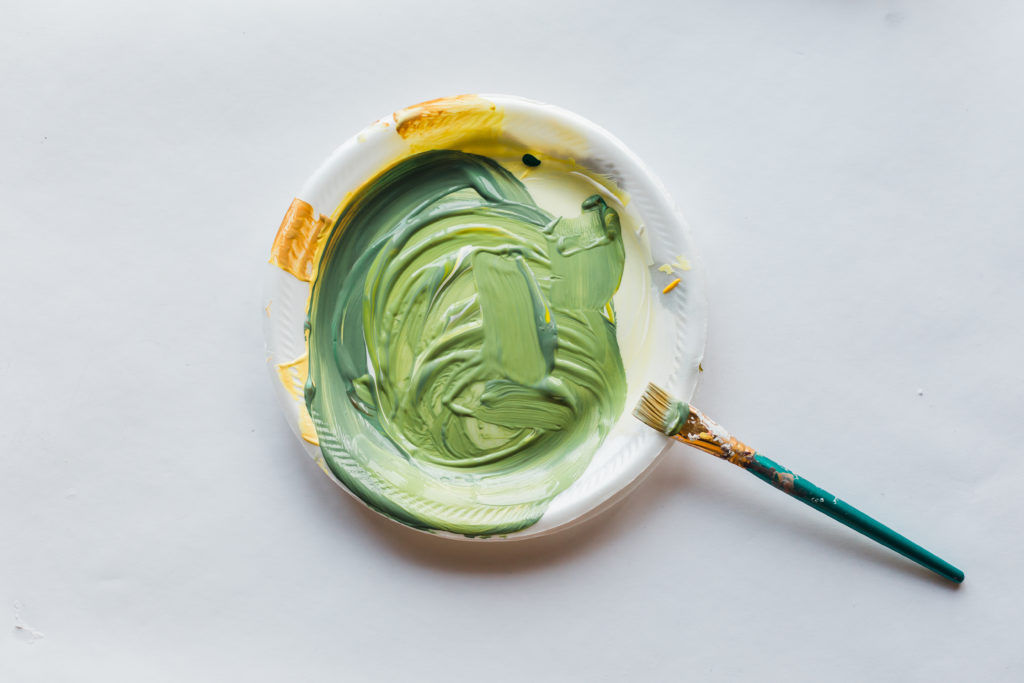
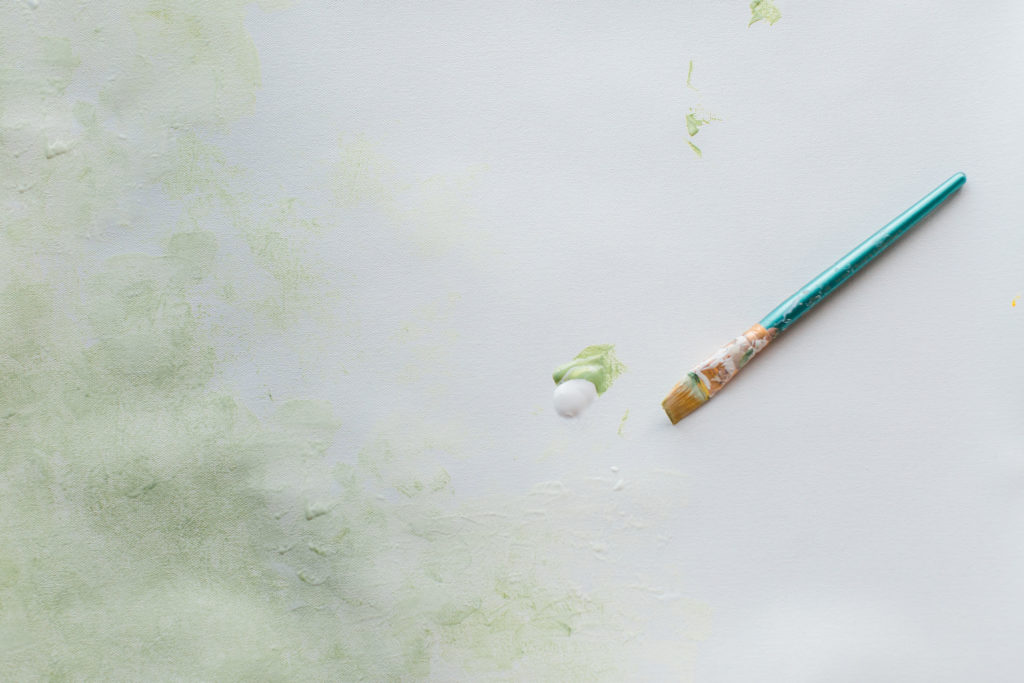
3 – Once you have the desired color, start painting the canvas. Be sure to mix in white acrylic paint continuously as you move across the canvas with your desired color.
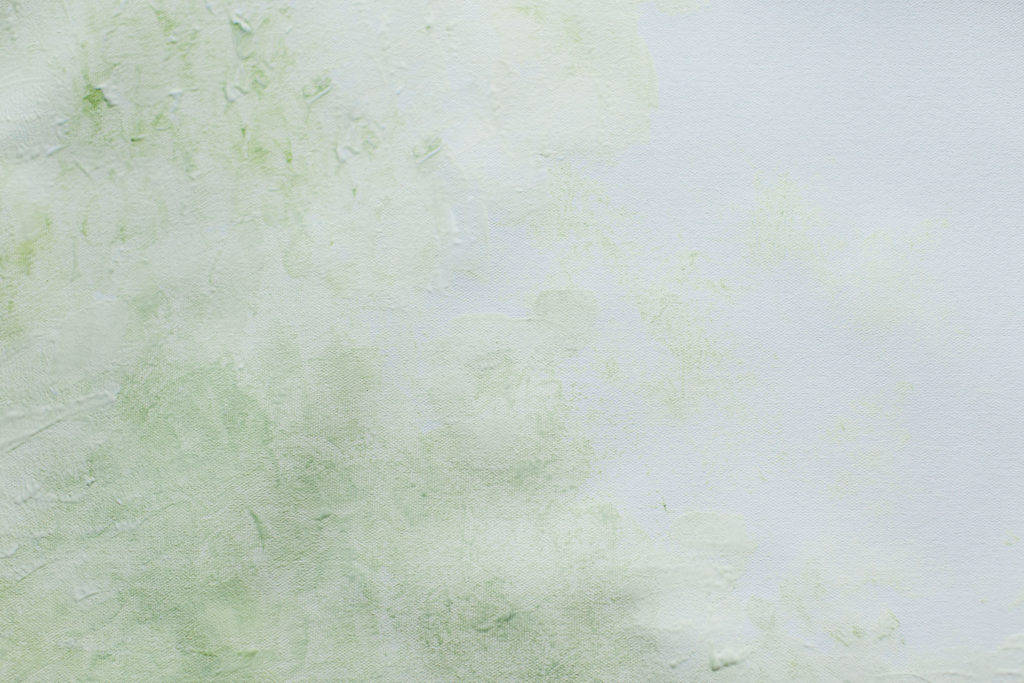
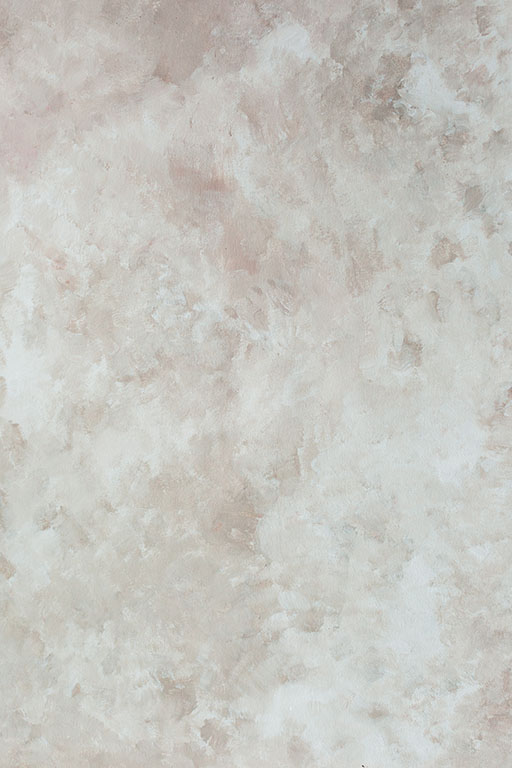
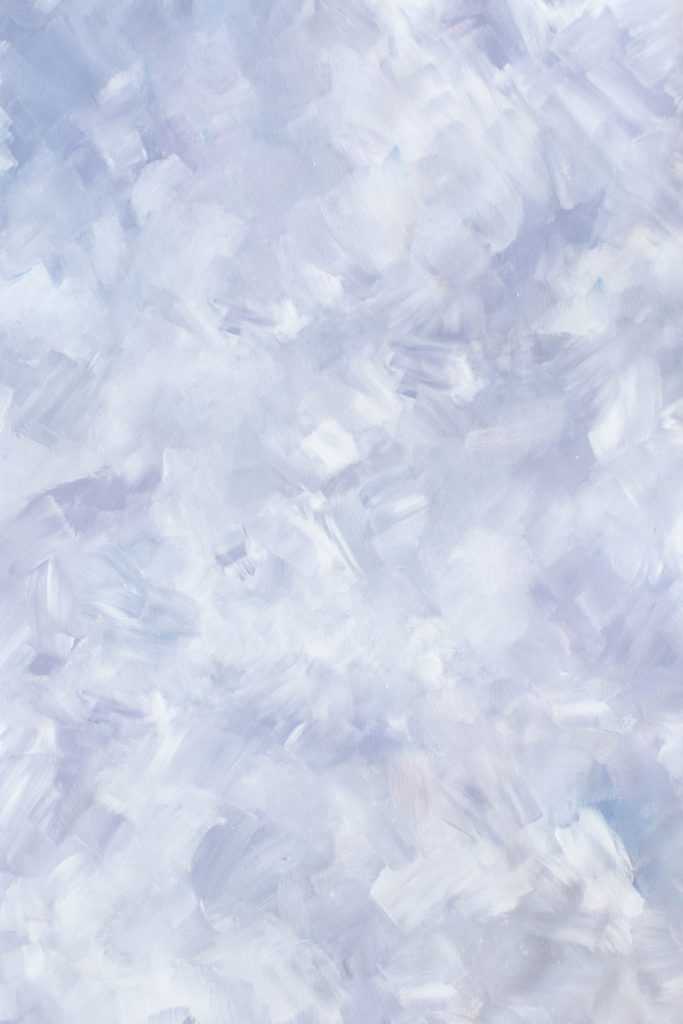
Here are some examples of colors and patterns of brush strokes that I feel worked well:
I highly recommend channeling various artistic outlets in the creative world. I had no idea I’d love painting so much. But if you feel that this is too much of a hassle, you can visit my Etsy page to place your custom order anytime!


Did you mainly use the small brush you have pictured or larger brushes? You should make a video tutorial! This is amazing and the mats are beautiful!